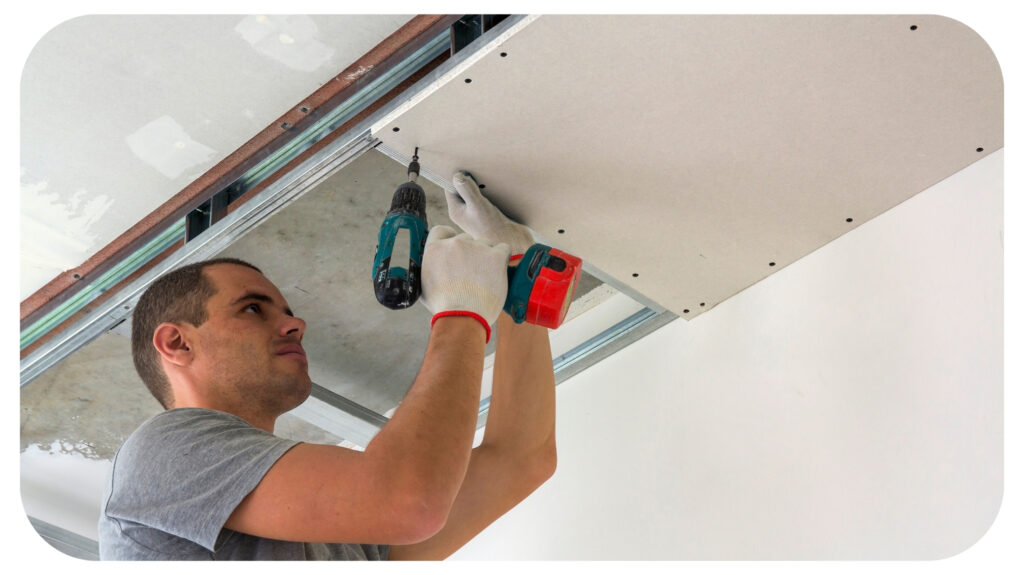
Should You Fit A Suspended Ceiling Yourself Or Hore A Professional?
This post was last updated on April 12th, 2025

Few alterations can make as significant an impact when revamping your commercial space as installing a suspended ceiling.
Also known as a drop ceiling, this versatile option enhances aesthetics and offers practical benefits such as improved acoustics, thermal insulation, and concealing unsightly utilities. While hiring a professional for this task is always an option, opting for a do-it-yourself approach can save costs and provide a sense of accomplishment.
This guide will walk you through installing a suspended ceiling in your commercial area to show you how easy it is.
Planning & Preparation
Meticulous planning is essential before starting the installation process. Begin by measuring your space accurately, including its length and width and any irregularities, such as protruding beams or pipes. Once you have these measurements, calculate the needed materials, including ceiling tiles, suspension wires, and metal grid components.
Next, consider the type of ceiling tiles you want to use. These come in various materials such as mineral fibre, metal, or PVC, each offering different aesthetics and functionalities. Additionally, decide on the desired height for your ceiling. Remember that suspended ceilings typically hang several inches below the original ceiling, so factor this into your calculations.
Gather Your Tools & Materials
With your plan in place, gather all the necessary tools and materials you will need for your project, and this may include:
- Ceiling Tiles
- Suspension Wires
- Metal Grid Components (main tees, cross tees, and wall angles)
- Wire Cutters
- Tape Measure
- Level
- Screwdriver
- Safety Goggles
- Dust Mask
- Gloves
Ensure you have everything on hand before installing to prevent interruptions, and shop around at quality suppliers like Ceiling Tiles Express to get the best deals possible.
The Installation Process
Step 1: Prepare the Space
Clear the area beneath where you will be working to create a safe and unobstructed workspace. Cover any furniture or equipment to protect them from dust and debris.
Step 2: Install the Suspension System
Begin by installing the suspension system, which consists of metal wires attached to the ceiling and supporting the grid structure. Mark the positions for the suspension wires according to your planned layout using a tape measure and level. Then, using screw eyes or clips, attach the wires to the ceiling joists or concrete slab above.
Step 3: Install The Main Tees
Once the suspension wires are in place, it is time to install the main tees for the suspended ceiling. These are the primary structural components of the grid system and typically run perpendicular to the longest wall in the room. You must cut the main tees to the appropriate length using wire cutters and secure them to the suspension wires using the provided clips or connectors.
Step 4: Add Cross Tees
With the main tees in place, add the cross tees to create the grid structure. These smaller components connect to the main tees, forming a lattice pattern supporting the ceiling tiles. Again, use wire cutters to trim the cross tees to size as needed and secure them in place.
Step 5: Install Wall Angles
Once you have finished installing the main and cross tees, you can add wall angles along the room’s perimeter. These L-shaped components provide a finished edge and support the ends of the ceiling tiles. Cut the wall angles to size and attach them to the walls using screws or nails.
Step 6: Insert Ceiling Tiles
With the grid structure in place, you can start to insert the ceiling tiles in your drop ceiling. Begin by placing full tiles in the centre of the room, working outward toward the walls. If necessary, cut tiles to fit around obstructions using a utility knife. Wear gloves and a dust mask when handling ceiling tiles, as they may contain mineral fibres or other materials that can irritate the skin and respiratory system.
Step 7: Finishing Touches
Once you have installed all the tiles, step back, inspect the finished ceiling, and ensure it is up to standard. Adjust the grid as needed and ensure it is level and the tiles are properly aligned. If desired, add additional lighting fixtures or air vents to complete the look.
Safety Considerations
Throughout the installation process, prioritise safety above all else. Wear safety goggles and gloves to protect your eyes and hands from sharp edges and debris and supply the same equipment to anyone helping you. Additionally, wear a dust mask to prevent inhalation of dust and other airborne particles.
Be cautious when working at heights and use a sturdy ladder or scaffolding to reach high areas. If working with power tools, such as a drill or saw, follow manufacturer instructions, and wear appropriate personal protective equipment.
Installing a suspended ceiling in your commercial space can dramatically transform its appearance and functionality. By following this DIY guide and taking the necessary precautions, you can achieve professional-looking results while saving on installation costs. Whether you’re updating an office, retail store, or hospitality venue, a suspended ceiling is a versatile and practical solution that can enhance your space’s overall aesthetic and comfort.
Recommended For You
4 Key Exhaust Fan Benefits That Make Them a Must-Have for Your Home
Most Inside
Most Inside offers high-quality recommendations and valuable updates to enhance all aspects of your life, providing premium guidance and enriching experiences.


