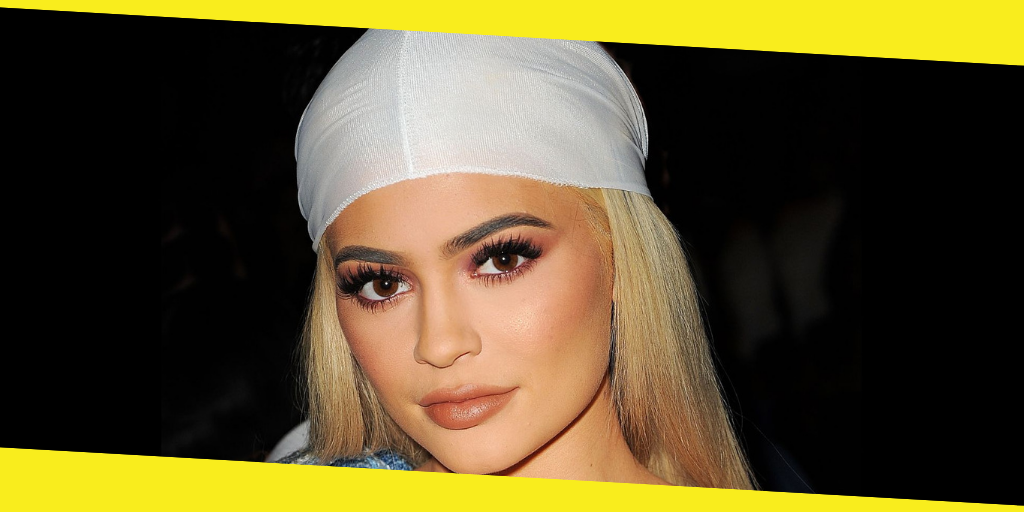
Durags were originally worn by African-American women in the late 19th century while at work. It was then later taken on as a way to preserve a hairstyle around the 1930s, and the headgear was worn after waves or another hairstyle was put in. More recently, durags have been worn as a fashion statement, and after the 1960s, these were often worn by African-American rappers, sports stars, and more. They lost some popularity in the early 2000s, but have recently seen resurgence. You can often see people, both ordinary and famous, wearing them. As well as their popularity in African and African-American culture, durags are often worn by motorcycle riders to save their hair while wearing a helmet and to stop sweat from getting into their eyes. If you’re interested in a durag, we recommend wholesale for everyone, which has a great selection of durags, bandanas, and hats in many colors, styles, and sizes.
There are many ways to tie and wear a durag. We’ll go through some of the more common and simple methods.
Method 1
The first step is to find a durag in a style and color you like and that works with your style. Some people like to choose a more flexible material, which helps significantly with the tying process. This material is also more breathable than a thicker material with no flex, which will help stop as much sweat and head from being caught around your head.
Once you have your durag, the first thing to do is to line the seam going through the material with your head to ensure it’s symmetrical. Place it on your head so that the front edge of the durag is in line with the center of your forehead between your hairline and your eyebrows, making sure in particular that your hairline is fully covered.
The next step is to take the ties and wrap them around your head. Take them both in your hand and pull them behind your head, so that they form a cross. The ties will be rolled up and will feel more like ropes than elastic fabric. Pull both of the ties. Make sure your ears are still exposed, so they are going just above your ears.
You can then tie the bands into a knot behind your head. This should be done with a double knot, rather than making loops and tying a bow-like shoelace. The knot will sit at the base of the skull near the top of your neck. The main thing to avoid is to tie the knot too tight, as this may give you headaches if left for too long. In addition, be careful not to tie more than a double knot, as you may not be able to undo it once you’re done.
You can now pull down the flap, which will be hanging down around your neck. This can be pulled down as if you were reaching down your back. This will tighten the whole thing and compress your hair.