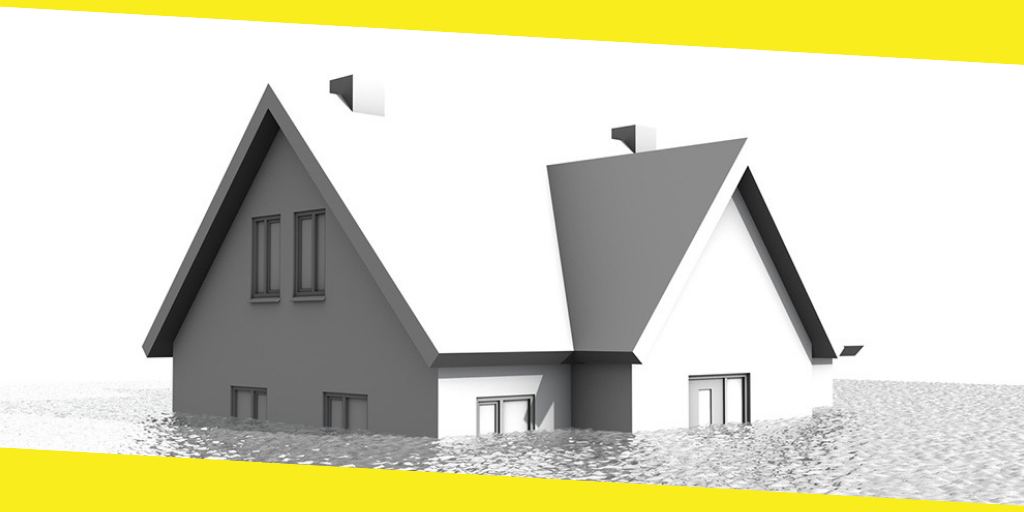
How to Repair a Water Damaged House

As a house owner, you always want to live a hassle-free life. But sometimes there may come some unexpected situations that make you panic. And entering the water in the house is in the top of the list of house owners’ problems.
As you can be a victim of such unavoidable any time, it is better to find out the solution than be panicked. And believe me; you can smoothly this worst situation if you just know how to repair a water-damaged house.
Then why late? Drive into this article and explore more.
Materials/Tools you will need
Before you go through a water damage repair process, you must have some materials and tools. To repair your water-damaged house, these tools and materials will play a vital role. Otherwise, who knows, you may have to rush to the shop at the time of repairing process. And obviously you don’t want to face such situation, right?
So, to avoid any types of hassle, collect the following tools before starting your repairing task. You will find them in any hardware shop. Even you can purchase these materials and tools from online.
| · Gloves
· Dust mask · Safety goggles · Hammer · Keyhole saw · Drop cloths or tarps · Wrecking bar · Utility knife · Putty knife · Drill · Stick · String |
. Fine-grit sandpaper
. Tape measure . Joint compound . Drywall screws . Joint Tape . Easy Care Ultra Premium Interior Paint . Power driver . Easy Care Platinum Paint . Paintbrush . Roller applicator . Small angular paintbrush . Shop vacuum |
Water-Damaged House Repairing: Step-by-Step Guideline
Repairing a water-damaged house is to some extent a very sensitive task. Even a wrong step can cause a huge loss to your house.
But relax. If you know the right process of repairing, you will be able to restore your affected house smoothly. You can even go for professional water damage cleaning.
Here are the steps that will ensure a perfect repairing of your water damaged house.
Step 1: Disconnect the power and unplug all electronics
The main risk of a water-damaged house is that your electric line and the device may get connected with water. Thus your whole house can get contacted with electricity and you may get electric shocked. So, first of all, you have to disconnect your electric power and unplug all of your electric devices.
Step 2: Replace your movable items in a safe place far from water
Water can damage the items of your home-whatever they may be, wooden, metal or ceramics made. Don’t forget to move away from your carpets as well as others under the padding.
Step 3: Remove the water
When the electric power of your house is off, you can now take initiative to remove the water that enters at your home in any way. To remove water from your house, use old towels and buckets. If your house is affected by excessive water, then you have to use a submersible pump to move water out. This type of hose pipe works well in moving water continuously.
Step 4: Dry out the house
When you are sure that there is no water remaining in your house, it is time to dry out the affected area- the most important part of the repairing process. Switch on your fan and open all the windows to have sufficient air flows. If possible, let the sunlight enters into. Applying all these, ensure the dry out as early as possible.
Step 5: Absorb moisture
Having your house dried out doesn’t indicate the end of the process. Now you have to take steps to absorb the moisture of your house. For that, you can use some desiccants (like silica gel, calcium oxide, clay etc.). These will also ensure destroying bacteria from your affected house.
Verdict
These are actually all about the processes of repairing a water-damaged house. I hope, after going through this step-by-step guide, you will be able to repair your water affected house of your own.
Happy Repairing!
Recommended For You
What You Need to Do Before Painting the Exterior of Your House
Most Inside
Most Inside offers high-quality recommendations and valuable updates to enhance all aspects of your life, providing premium guidance and enriching experiences.


