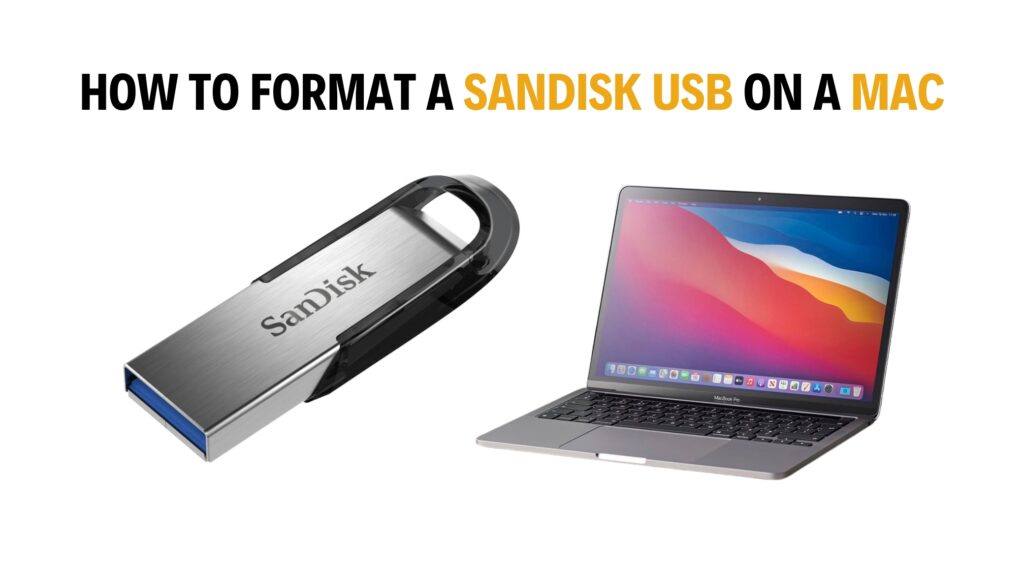
How to Format a SanDisk USB on a Mac?
This post was last updated on December 30th, 2024

Even if cloud and decentralized solutions are becoming more popular for file transfers and storage, USB drives are still useful in commercial applications. A USB drive can be physically unplugged and stored away, transfers files to and from a local device swiftly, does not require an internet connection, and is a tangible item that can display your company’s logo.
Nowadays, you may use a SanDisk USB drive with your Mac straight out of the box, even if in the past it was only compatible with Windows OS. That being said, unless it was made specifically for a Mac, it cannot be formatted using macOS’s preferred file system, which is either APFS or Mac OS Extended, depending on the version of macOS you are using.
Formatting USB devices on a Mac is actually quite easy. Nowadays, a lot of USB drives are plug-and-play compatible with Macs. However, for that, you need to Download SanDisk USB Driver for smooth functioning. Still, certain SanDisk USB devices require formatting in order to function with your Mac OS. We can also assist you with formatting a SanDisk USB on a Mac. However, the procedure is a little different.
How to Format a SanDisk USB Driver on a Mac?
Discovering how to format a SanDisk USB drive after opening a new SanDisk storage-based product is a smart step to take in order to minimize the possibility of unforeseen corruption, data loss, or other performance threats. Fortunately, Macs have a very useful tool called Disk Utility pre-installed. This tool performs a wide range of tasks, including formatting drives and assessing the integrity of disks.
The following procedures will help you format SanDisk USB devices on a Mac:
- Insert the SanDisk USB drive into a USB socket. You will need a USB-C to USB-A adaptor if your latest Mac only has USB-C ports.
- Click on the drive from the Finder window.
- Double-click Disk Utility after transferring any necessary files from the USB device to your Mac by going to Applications > Utilities.
- Click on the SanDisk USB drive in the sidebar and then select Erase from the toolbar at the top of the window.
- Enter the formatted drive’s name in the box next to Name in the resulting window.
- From the dropdown menu, select a format.
- Click the Security Options option if you have previously saved private information on the drive.
- Use the slider to select a security level. The erase tool will make more “passes” and remove files more securely the further to the right you adjust the slider. But it also adds a significant amount of time to the formatting of the drive.
- After selecting OK, select Erase.
Which Format to Choose?
Selecting which format to choose is also very crucial. You can use either Mac OS Extended or APFS to format SanDisk USB devices if your Mac is running macOS High Sierra or later. The most important thing to remember when formatting the SanDisk USB driver is that Macs running macOS versions lower than High Sierra will not recognize disks formatted as APFS.
Therefore, format the USB drive as Mac OS Extended if you anticipate that you will need to insert it into a Mac running an earlier version of macOS. When formatting a flash drive on a Mac, you should always go for APFS since it is optimized for SSDs, or solid-state drives, like flash drives. However, APFS outperforms Mac OS Extended in terms of speed and dependability, even on hard drives.
Lastly, select Mac OS Extended if you want to use the SanDisk USB drive as a location for Time Machine backups. At this time, Time Machine will offer to reformat an APFS drive if you choose to utilize it for backup purposes, but it is not currently capable of backing up to an APFS disk. Nonetheless, an APFS-formatted disk can be backed up to a Mac OS Extended Time Machine device.
Recommended: How to Recover Deleted Files Mac?
How to Format a SanDisk USB Drive to FAT32 on a Mac?

If you wish to use a SanDisk USB drive on both a Mac and a Windows computer, you should format it as Fat32 on the Mac in order to potentially use it for file transfers between the two devices. It is possible that you are preparing the drive for a different purpose, such as using it as a media player’s storage or to record TV shows for a connected TV. Fat32 is incredibly flexible because it can be written to and read from on Mac and Windows computers.
There is a big restriction, though: the maximum size of a single file is 4 GB. Therefore, you can have issues if you use the SanDisk USB drive to store huge video files. However, exFAT offers a workaround. ExFAT does not have a maximum file size limit as FAT32 does. Even better, it works with Windows and Macs running Mac OS X Snow Leopard or later to read and write data.
To use exFAT or FAT32 format on a USB drive:
- Connect the USB SanDisk disk to your Mac.
- Open Disk Utility by going to Applications > Utilities.
- In Disk Utility, click the SanDisk USB drive from the sidebar.
- In the Disk Utility toolbar, select Erase.
- Enter the formatted disk’s name here.
- Select MS-DOS (FAT32) or ExFAT from the Format menu by clicking on it.
- Press the Erase button.
The format you choose in step 6 will determine whether your SanDisk USB drive is now formatted as FAT32 or ExFAT after being erased.
Recommended For You
How To Use An Air Purifier Effectively
Most Inside
Most Inside offers high-quality recommendations and valuable updates to enhance all aspects of your life, providing premium guidance and enriching experiences.


